The installation of Windows software can seem like a challenge. Nevertheless, when you are aware of what to do, everything will go well. A large number of users would like to install or reinstall Windows on their MSI laptops or desktops. However, when it comes to the boot menu, they usually become stuck when they fail to locate the right key. The MSI boot menu key plays a major role here. It allows you to choose a USB to install Windows within a few seconds.
This guide will take you through each step in an easy manner. You will be able to know how to enter the boot menu, know how to use the boot menu, and install Windows without getting lost.
What Is the Boot Menu?
The boot menu is a little window that occurs prior to Windows loading. It lets you select a device. You are able to boot off a USB, DVD, SSD, or HDD. This menu assists you in taking off your window installation using a USB drive. And, naturally, you must have the right key to get there.
Why is the Boot Menu Vital?
The process is extremely easy despite its technical appearance. The boot menu helps prevent changes to the IOS. You do not switch settings, but just push a button. Your computer then starts with your selected computer. Consequently, you save time, and errors are avoided.
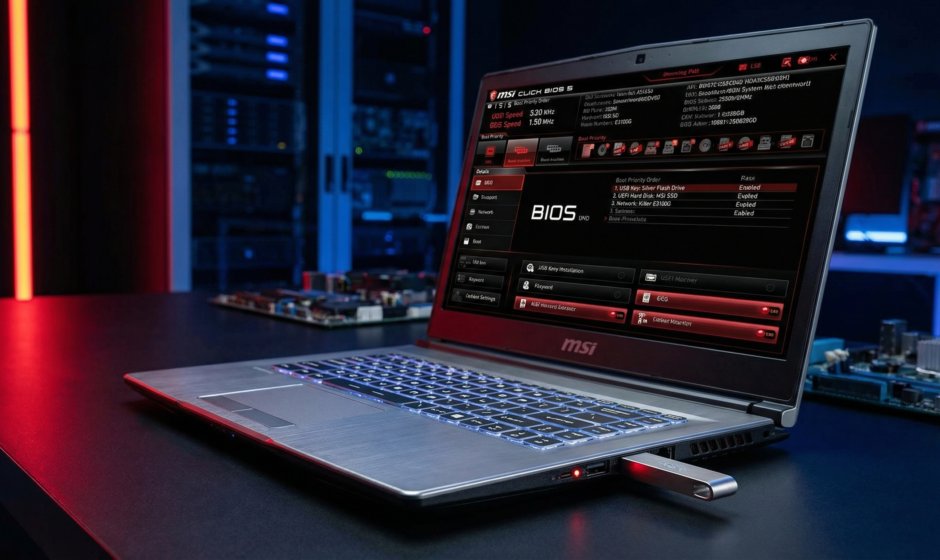
MSI Boot Menu Key: What Is It?
The shortcut that opens the boot menu is the MSI Laptop Boot Menu Key. This is the key that you press before the loading of Windows. After tapping it, the system gives you the option of selecting your USB installer. The key button to have in the MSI boot menu is typically F11. The majority of MSI laptops and desktops share the key.
Check This Before You Start
You need to have all the things ready before we proceed with the steps:
- A working USB drive
- Windows installation media
- A charged MSI laptop or desktop.
- A copy of your personal files.
- A stable power source
These products ensure that the installation process is quicker and safer.
Step-by-Step Guide to Installing Windows Using the Boot Menu
Step 1: Prepare your Windows USB
The initial thing is to download the Windows Media Creation Tool. Next, make your USB installer. The tool will guide you through the process step by step. One just picks the USB drive and allows the system to construct the files. This part is simple and quick.
Step 2: Plug In the USB
Secondly, plug the USB into an MSI laptop or desktop. Ensure that the device is snapping into place. Preferably, a USB port on the left or right side should be used. Many systems are faster at reading side ports.
Step 3: Restart Your System
Now restart your computer. When it shuts down and then switches on, prepare to press the boot key. You have to push it quickly until Windows comes.
Step 4: Press the Boot Menu Key
The key is F11. Tap it repeatedly. Do not hold it down. Short, quick taps work best. This is a window that opens up the boot menu. The MSI Laptop Boot Menu Key has been used successfully. The same key also doubles up as the MSI boot menu key on most models.
Step 5: Select the USB Drive
When a boot menu is displayed, a list will be displayed. Select the USB drive containing your Windows files. Move with the arrow keys upwards and downwards. Press Enter to continue.
Step 6: Start Windows Setup
The Windows installer is loaded on your screen. It may take a few seconds. Choose your language. Then select the type of installation. A majority of users choose Custom Install. Install Windows and select the drive to install it on.
Step 7: Complete the Setup
Windows now does the installation of the files. This step may take some time. Keep your laptop plugged in. On termination of the process, a restart of the system occurs. Always unplug your USB when Windows indicates.
Step 8: Complete the Basic Settings
When Windows starts, select your region, keyboard, and network. Next, use your Microsoft account—lastly, complete privacy and update settings. Your MSI machine has been reformatted with a new Windows.
Common Mistakes and Easy Fixes
1. You Miss the Boot Key
You hit the key sometimes too late. Simply restart and try again. Use the key to hit as fast as you can when the MSI logo comes up.
2. USB Not Showing in Boot Menu
It is not necessarily that your USB is a bootable drive. Recreate it with the Windows Media Creation tool. Also, try another USB port.
3. Wrong Key Pressed
There are some users who press Esc or F2 accidentally. Note that F11 is the correct one with MSI systems.
Useful Tips for a Smooth Windows Install
These minor details will ensure that the process is even less complicated.
- Keep your laptop plugged in
- Use a good-quality USB
- Do not switch off the device during installation.
- Keep your drivers ready
- Reboot again after configuring.
These measures make the system clean and stable.
Benefits of Using the Boot Menu Instead of BIOS
Starting a Windows install with the boot menu is significantly safer and faster. The BIOS will be able to change the order in which one boots as well, but it follows more steps and is more prone to mistakes. The boot menu allows one key press, and you select your USB drive immediately. This approach is time-saving, does not lead to confusion by settings, and prevents novices from making inadvertent changes within the BIOS. Due to this fact, the boot menu is more convenient and intelligent for the majority of users. It also maintains the process to be smooth, clean, and clear throughout.
How to Confirm That Your Windows Are Installed Correctly?
Once installed, verify a few things:
- Your desktop loads instantly.
- Your drivers are displayed in Device Manager.
- Your internet is working as usual.
- Your system reboots without any problems.
When all these tasks are complete, you are set with Windows.
Extra Safety Tips
The process is safe, but there are a few things to remember.
- Always back up your files
- Avoid a low battery
- Use official Windows tools
- Always keep your USB free of viruses.
- Restart if you see a freeze.
These are the basic measures of safeguarding your information.
Final Thoughts
When one knows the correct steps, installing windows in an MSI device is an easy process. The MSI Laptop Boot Menu Key will provide you with a fast way of accessing your USB installer. And the MSI boot menu key lets you complete the process with no involvement with the complex BIOS settings. This easy-to-understand guide will enable you to now install Windows with ease, safety, and confidence.